This is a guest posting by Bob Reselman.
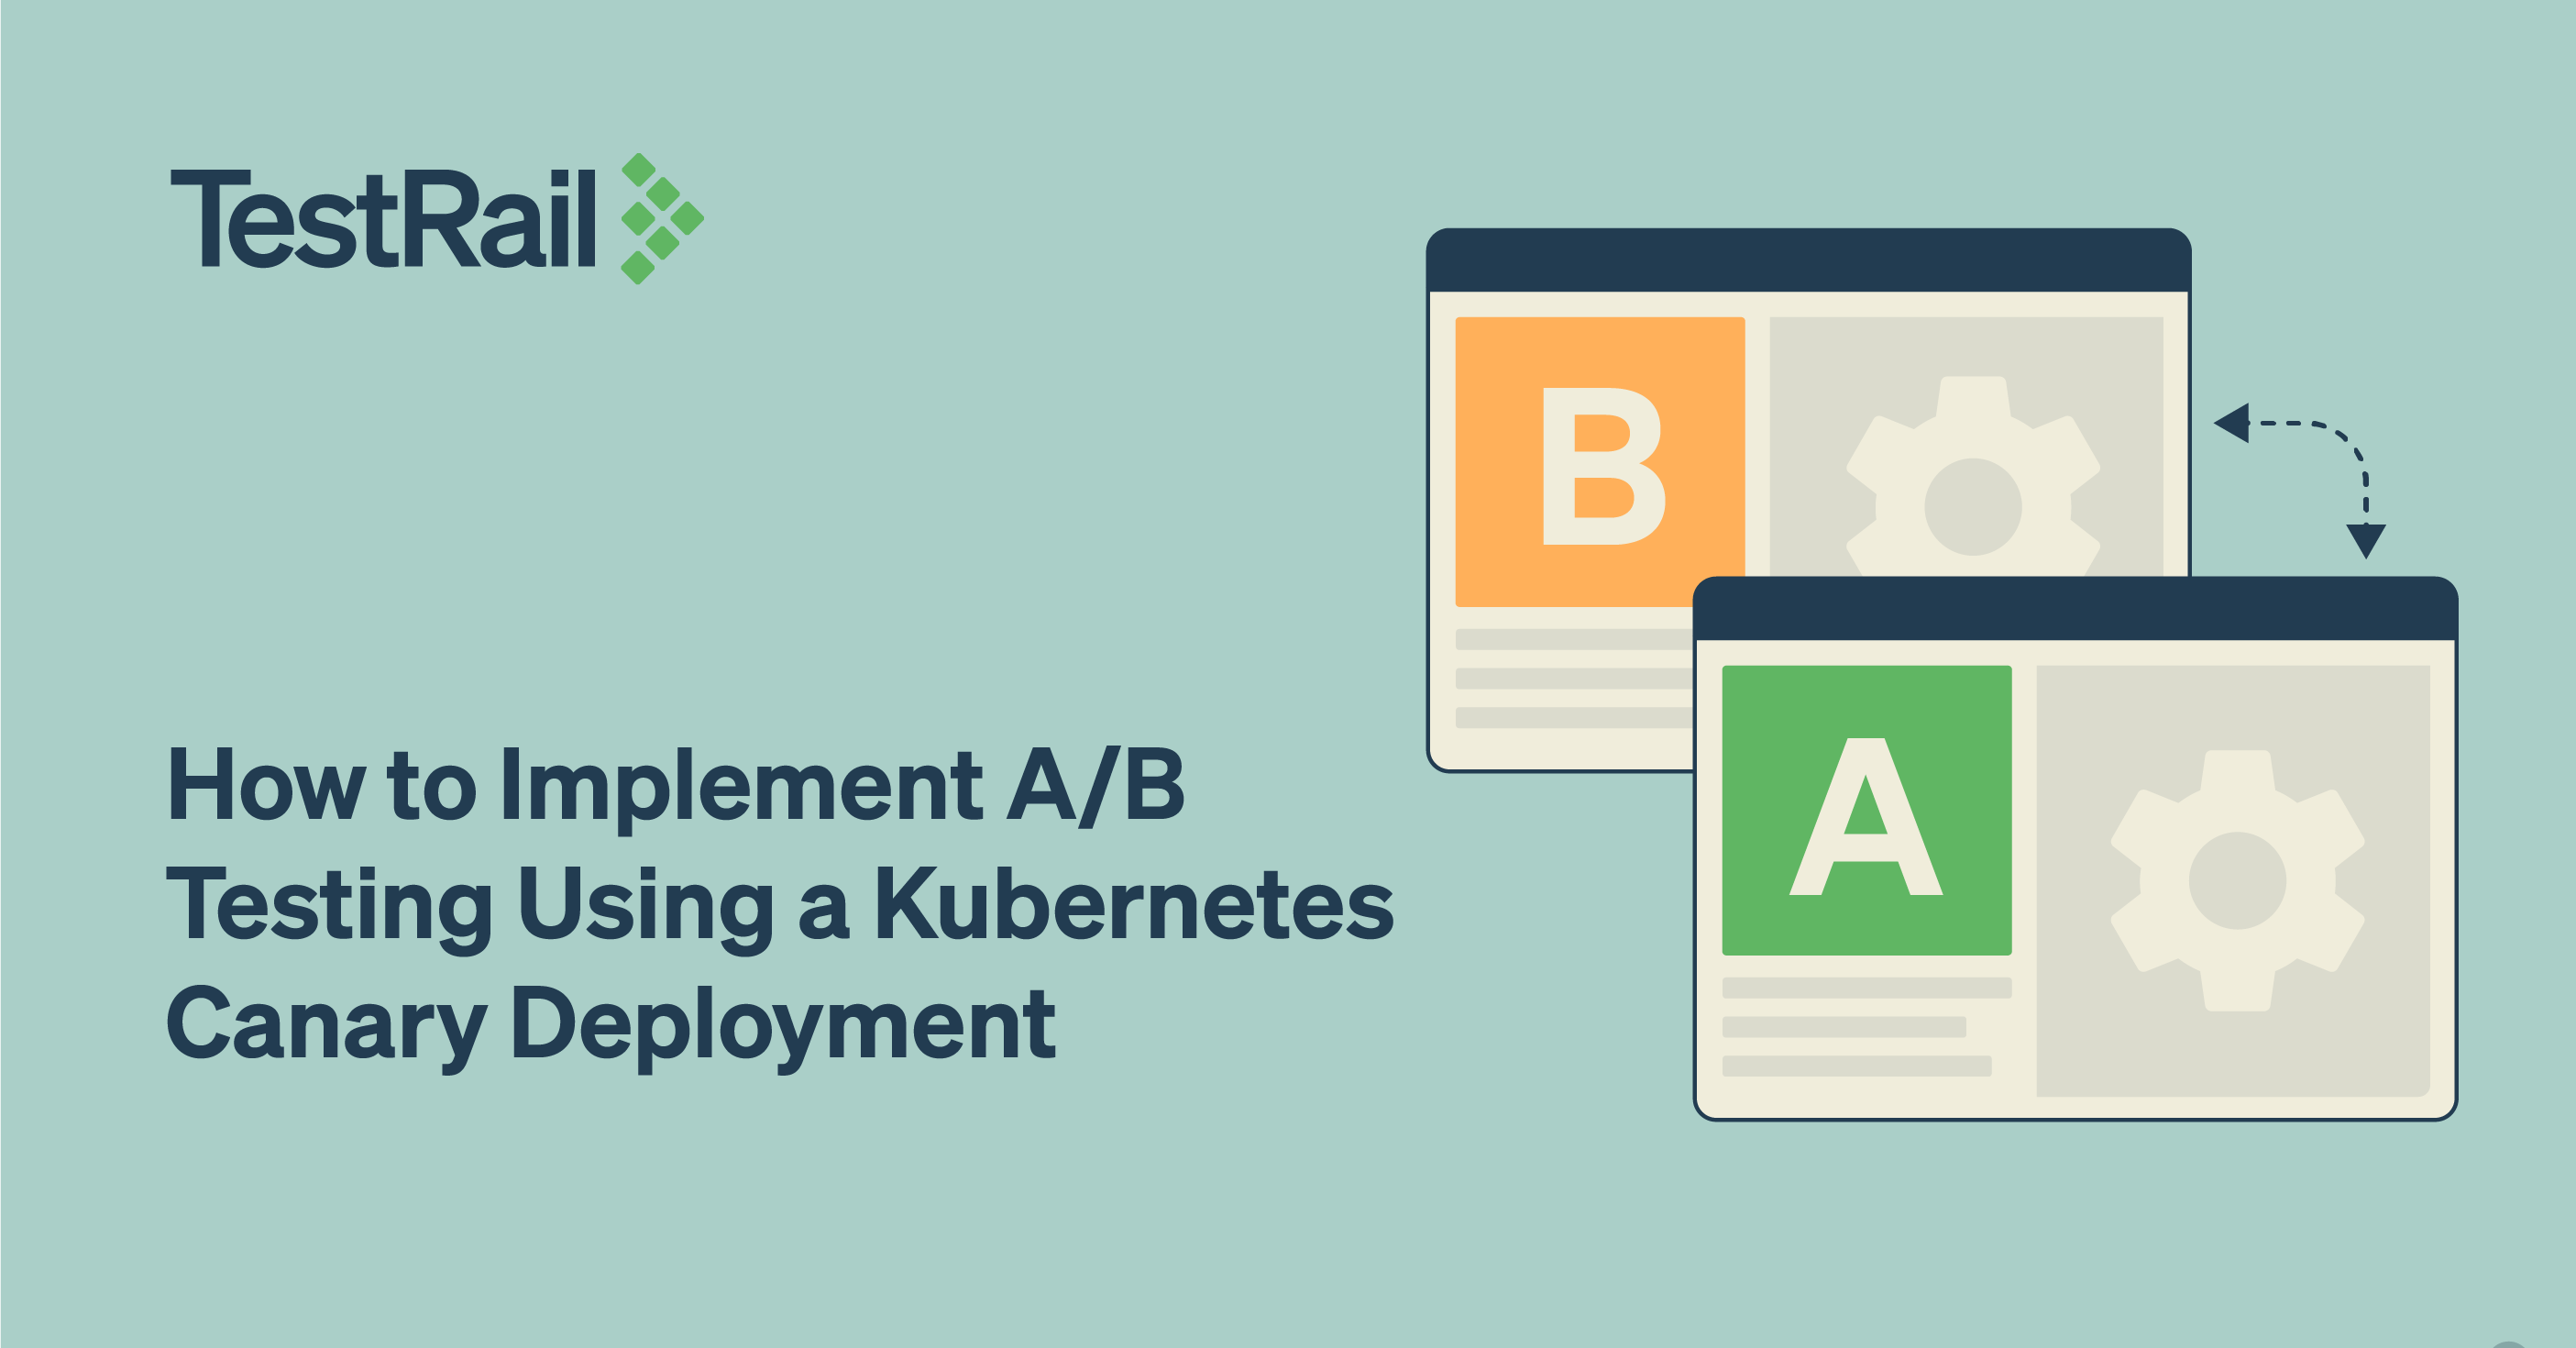
A/B testing is the practice of running two release versions of software simultaneously and then forwarding usage to a given version according to routing configuration settings.
A typical example of A/B testing is website usability testing. A publisher will release a beta version of the website to run alongside the stable version of the site. Users will be routed between the legacy site and the beta version at random or according to a predefined weighting algorithm — for example, only 10% of the incoming traffic will be routed to the beta version.
Testers and site analysts will gather the usage data emitted by both versions and compare the results. If the beta version shows good results, then more traffic will be sent to it. Eventually, all traffic will be sent to the beta site, provided the results are positive. If any problem is encountered with the beta version, all traffic is routed to the stable version and the beta version is removed from public access. Fixes are made and the A/B testing process starts again.
A/B testing is a useful practice, but it can be a laborious undertaking. There are a lot of moving parts to keep track of. Releasing and monitoring two versions of software running simultaneously and then doing rollback activity should things go wrong can require a lot of work, particularly if a company is using a “roll your own” deployment process.
Kubernetes makes things much easier. Kubernetes is a container orchestration framework that facilitates running and, if things go wrong, rolling back an A/B test, requiring nothing more than executing standard command-line operations upon Kubernetes ResourceConfig files.
It can be beneficial to implement an A/B test using a Kubernetes canary deployment. Canary deployment is where an experimental version of code runs alongside a production version. Think of it as a “canary in a coal mine.” If the canary lives, all is well and it’s safe to move forward.
Let’s look at how Kubernetes uses pod, deployment, and service resources to facilitate the A/B test, as well as the way the relationship between pods and a Kubernetes service is established in order to make a canary deployment possible.
Get the code that shows you how to implement a canary deployment under Kubernetes
You can get the code that shows you how to implement a canary deployment under Kubernetes here. The code, which is in a GitHub repository, provides a complete lesson for implementing the canary deployment using the Katacoda interactive learning environment.
Understanding Kubernetes service-to-pod binding
Before we go into particulars of how to implement a canary deployment under Kubernetes, we need to go over some essential Kubernetes concepts.
Kubernetes is a framework that is designed to run one or many instances of code over at least one but usually many machines. The given machine can be real or virtual. In Kubernetes parlance, a collection of machines is called a cluster. A machine is typically referred to as a node.
The deployment unit for code in Kubernetes is a container that has a corresponding container image that resides in a registry, such as DockerHub, Google Container Registry or Azure Container Registry. Any node can host one or many containers. But Kubernetes does not host containers on a node explicitly; rather, it uses a resource called a pod.
Understanding pods
In Kubernetes, a container is represented in a logical organizational unit called a pod. A pod can contain one or many containers. Pods are created on-demand at runtime by Kubernetes.
The information that describes the characteristics of a pod is stored in a manifest file, also known as a ResourceConfig file, which is written in YAML or JSON. (You can configure and create a pod imperatively at the command line, but in most production environments, pods and other Kubernetes resources are created using a manifest file. This is called declarative creation.)
Understanding Kubernetes deployments and ReplicaSets
A deployment is a formal Kubernetes resource. (See listing 1, below.)
apiVersion: extensions/v1beta1
kind: Deployment
metadata:
 name: deployment-red
spec:
 replicas: 10
 template:
 metadata:
 labels:
 app: example_code
 color: red
 spec:
 containers:
 - name: echocolor
 image: reselbob/echocolor:v0.1
 ports:
 - containerPort: 3000
 env:
 - name: COLOR_ECHO_COLOR
 value: RED
 - name: COLOR_ECHO_VERSION
 value: V1
Listing 1: A deployment manifest that defines 10 replicas of a pod
A Deployment represents a ReplicaSet of pods. A ReplicaSet is a logical organizational unit that defines at least one but usually many running instances of a particular pod. The important thing to understand about a ReplicaSet is that it guarantees the state of the number of pod replicas defined to run in a cluster. In other words, if a deployment’s ReplicaSet defines that 10 instances of a certain pod need to be running at all times, the ReplicaSet will work with Kubernetes to ensure that there are always 10 instances running.
If for some reason a node in the given Kubernetes cluster goes down and the instances of the ReplicaSet’s pods the machine is hosting no longer exist, Kubernetes will replenish the terminated pods in another machine. The bottom line is that in Kubernetes, a Deployment guarantees the state of its ReplicaSet always.
Understanding a Kubernetes service
A Kubernetes service is an abstraction that represents pods to the cluster. A service is a distinct Kubernetes resource. As with pods and deployments, a service can be created using imperative commands. But, also as with pods and deployments, a service is usually defined in a production setting using a manifest file.
Listing 2 below shows an example of a manifest file written in YAML that describes a Kubernetes service named echocolor-all.
apiVersion: v1
kind: Service
metadata:
 name: echocolor-all
spec:
 selector:
 app: example_code
 ports:
 -
 protocol: TCP
 port: 3000
 targetPort: 3000
 type: NodePort
Listing 2: A service identifies the pods it represents according to the name-value pairs defined in the selector attribute of the associated manifest file
The way you create the service using a manifest file is to use the command set kubectl apply, like so:
kubectl apply -f service_01.yaml
WHERE
kubectl is the command for the Kubernetes API client
apply is the sub-command that indicates a raw ResourceConfig file will be used
-f is the option indicating the ResourceConfig (manifest) file is to be applied
service-01.yaml is the name of the given file to use
The most important thing to understand is that a Kubernetes service represents behavior that is provided by containers that are organized in a pod. So, the outstanding question is, how does a service bind to a given set of pods hosted within the cluster? The answer is by mapping a service’s selector values with the labels defined for a pod.
The way a service binds to pods is by mapping one or more of a given pod’s labels according to the one or more name-value pairs in the given service’s select attribute.
Take a look at figure 1 below. Notice that the selector attribute in the service’s manifest file has a name-value pair, app: example_code. Notice also that there are two pods in figure 1. Each illustrated pod contains an abbreviated excerpt of its manifest that shows only the name-value pairs associated with the labels attribute. Both pods have a name-value pair, app: example_code. That both pods share app: example_code is important in terms of the way Kubernetes pod discovery logic works.

Figure 1: A service will bind to pods that have the same name-value labels defined in the selector attribute of the service’s manifest
When a Kubernetes service is created, it will look for pods that have name-value pairs in their label section that match those defined in the selector section of the service’s manifest file. In this case, because the service’s manifest shown above in figure 1 has app: example_code defined in the selector, it will look for pods that have the name-value pair app: example_code defined in the pod’s labels section. Thus, when a service is called via its DNS name that is internal to the cluster or its IP address and port number, those calls will be forwarded onto the containers in the pods associated with the service.
Mapping service selector values to pod labels is an essential mechanism for facilitating a canary deployment under Kubernetes.
Implementing a canary deployment
To initiate a canary deployment under Kubernetes, we create two distinct Kubnerentes deployments, with each deployment having pods that have containers with special behavior. But, we make it so that the pods in each deployment have a common name-value pair defined in the labels section of the deployment manifest. Then, we release a Kubernetes service that has selector name-value pairs that bind the service to the common name-value pair shared between pods among the two Kubernetes deployments. Figure 2 below illustrates the concept.

Figure 2: In a Kubernetes canary deployment, all pods in a given set of deployments share a common label to which the Kubernetes service binds.
Let’s take a look at the details.
Creating the stable and canary deployments
Notice that listing 3 below is a manifest file that defines a Kubernetes deployment with the name deployment-red. The deployment will create 10 replicas of a pod that has the container reselbob/echocolor:v0.1. Each container will have two environment variables injected, COLOR_ECHO_COLOR=RED and COLOR_ECHO_VERSION=V1.
apiVersion: extensions/v1beta1
kind: Deployment
metadata:
 name: deployment-red
spec:
 replicas: 10
 template:
 metadata:
 labels:
 app: example_code
 color: red
 spec:
 containers:
 - name: echocolor
 image: reselbob/echocolor:v0.1
 ports:
 - containerPort: 3000
 env:
 - name: COLOR_ECHO_COLOR
 value: RED
 - name: COLOR_ECHO_VERSION
 value: V1
Listing 4: A Kubernetes deployment that defines three replicas of a pod, with the container reselbob/echocolor:v0.1 and an environment variable COLOR_ECHO_COLOR=GREEN and COLOR_ECHO_VERSION=V1 injected into the pods
Thus, for intents and purposes, deployment-red has a special behavior: the presence of the environment variable COLOR_ECHO_COLOR=RED; deployment-green also has a special behavior: the presence of the environment variable COLOR_ECHO_COLOR=GREEN.
The application within the container reselbob/echocolor:v0.1 is a web server that outputs two values in its HTTP response. One value is the value assigned to the environment variable COLOR_ECHO_COLOR. The other output value is the time when the response is made. The implication is that deployment-red will behave one way, outputting the string RED, while deployment-green will behave another way, outputting the string GREEN. Granted, these are trivial behaviors, but useful nonetheless for our example.
The deployment deployment-red is our stable deployment, and the deployment deployment-green is our canary.
To inject each deployment into the cluster, we run kubectl apply -f <MANIFEST_FILE>.yaml, like so:
kubectl apply -f deployment-red.yaml
kubectl apply -f deployment-green.yaml
Creating the Kubernetes service
Now, we deploy the Kubernetes service that supports both deployments according to the manifest file shown below in listing 5.
apiVersion: v1
kind: Service
metadata:
 name: echocolor-all
spec:
 selector:
 app: example_code
 ports:
 -
 protocol: TCP
 port: 3000
 targetPort: 3000
 type: NodePort
Listing 5: A Kubernetes service that will support both deployment-red and deployment-green
Notice that the Kubernetes service echocolor-all has but one name-value pair in its selector, app: example_code. This name-value pair is shared among the labels for the pods in both deployment-red and deployment-green. Thus, the service will bind to the pods in both deployments. Listing 5: A Kubernetes service that will support both deployment-red and deployment-green
Also notice that while deployment-red has 10 replicas, deployment-green has only three. This means that operationally, the pods associated with deployment-red are going to be accessed a little over three times more compared to deployment-green when calls are made to the service echocolor-all. Hence, we have a viable canary deployment in play. The internals of Kubernetes will make it so that a call to the service echocolor-all will be forwarded onto the pods in beta code in deployment-green intermittently.
Let’s run an exercise against the service. Listing 6 below shows the command line and output that makes 20 curl calls to the Kubernetes service echocolor-all, which in this instance is running at the IP 172.17.0.78 address on port 31316.
(To get hands-on experience of this exercise, download the instructions and example code for this article on GitHub here.)
$ for i in {1..20}; do curl 172.17.0.100:31763; done
{
“color”: “RED”,
“date”: “2019-12-20T02:46:34.335Z”
}{
“color”: “GREEN”,
“date”: “2019-12-20T02:46:34.352Z”
}{
“color”: “RED”,
“date”: “2019-12-20T02:46:34.388Z”
}{
“color”: “RED”,
“date”: “2019-12-20T02:46:34.404Z”
}{
“color”: “RED”,
“date”: “2019-12-20T02:46:34.422Z”
}{
“color”: “GREEN”,
“date”: “2019-12-20T02:46:34.441Z”
}{
“color”: “RED”,
“date”: “2019-12-20T02:46:34.452Z”
}{
“color”: “RED”,
“date”: “2019-12-20T02:46:34.463Z”
}{
“color”: “RED”,
“date”: “2019-12-20T02:46:34.473Z”
}{
“color”: “GREEN”,
“date”: “2019-12-20T02:46:34.486Z”
}{
“color”: “RED”,
“date”: “2019-12-20T02:46:34.503Z”
}{
“color”: “RED”,
“date”: “2019-12-20T02:46:34.514Z”
}{
“color”: “RED”,
“date”: “2019-12-20T02:46:34.524Z”
}{
“color”: “GREEN”,
“date”: “2019-12-20T02:46:34.531Z”
}{
“color”: “RED”,
“date”: “2019-12-20T02:46:34.543Z”
}{
“color”: “RED”,
“date”: “2019-12-20T02:46:34.554Z”
}{
“color”: “RED”,
“date”: “2019-12-20T02:46:34.561Z”
}{
“color”: “GREEN”,
“date”: “2019-12-20T02:46:34.568Z”
}{
“color”: “RED”,
“date”: “2019-12-20T02:46:34.578Z”
}{
“color”: “RED”,
“date”: “2019-12-20T02:46:34.587Z”
}
Listing 6: A vast majority of the calls made to the Kubernetes cluster running a canary deployment are routed to the legacy code
Notice above in listing 6 that even though the curl command is being executed against a single IP address and port number, each call is being routed among the pods in both the deployments, deployment-red and deployment-green, with deployment-red being called more often. Operationally, this means that we have both deployments in action and being exercised. If we encounter no problems with deployment-green and want to increase the frequency by which it’s being called, we increase the replicas count in the deployment-green manifest file, as shown below in listing 7.
Once we change the replicas value in the manifest, we reapply the manifest file to the cluster again using kubectl apply, like so:
apiVersion: extensions/v1beta1
kind: Deployment
metadata:
 name: deployment-green
spec:
 replicas: 10
 template:
 metadata:
 labels:
 app: example_code
 color: green
 spec:
 containers:
 - name: echocolor
 image: reselbob/echocolor:v0.1
 ports:
 - containerPort: 3000
 env:
 - name: COLOR_ECHO_COLOR
 value: GREEN
 - name: COLOR_ECHO_VERSION
 value: V1
Listing 7: To increase the number of replicas running under a Kubernetes deployment, increase the value assigned to the replicas attribute in the deployment’s manifest file.
kubectl apply -f deployment-green.yaml
Reapplying the manifest file will make it so Kubernetes increases (or decreases) the number of pods running according to the deployment definition.
But what do we do should the canary deployment cause problems? In this case, all we need to do is remove the problematic deployment from the cluster. Instead of applying the manifest, we use the kubectl delete command set to remove the deployment, like so:
kubectl delete -f deployment-green.yaml
The beauty of it all is that Kubernetes will remove the pods that are associated with the problematic deployment gracefully and in a way that does not affect the stable version at all. Then, once the problem has been fixed and the new contains have been deployed to the container registry, all that’s required to reintroduce the canary deployment into the Kubernetes cluster is to update the manifest file with the new information that describes the updated container and apply the deployment manifest again, like so:
kubectl apply -f deployment-green.yaml
Putting it all together
A/B testing has become a stable practice in modern application testing. Being able to run both stable and beta versions of code simultaneously allows test practitioners to enjoy the benefit of a comprehensive testing experience using a real-world audience.
The drawback of A/B testing is that it can be a laborious undertaking on the back end. But the good news is that Kubernetes makes running a variety of behaviors against a common service an easy undertaking. All that’s required is a basic understanding of how to use Kubernetes pods, deployments and services. Then, add in a little bit of planning, and in no time at all, you’ll be able to implement A/B testing using canary deployments under Kubernetes right out of the box.
The time you’ll invest to learn the basics will have an enormous payback when it comes time to execute A/B testing at web scale.