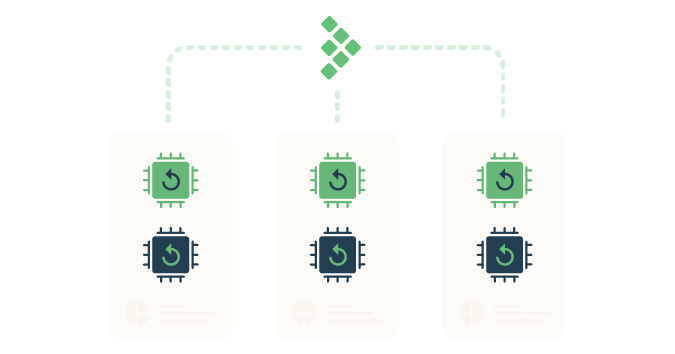
This article is part of a series of blog posts for Streamlining test automation with TestRail, which aim to guide you through centralizing your test automation efforts in TestRail, as per the diagram below.

If you followed the previous articles in this series of blog posts, you should now have your test execution pipeline set up and your test results stored on Jenkins as artifacts. If you belong to an organization that values consistent test management and visibility, you will want to manage your automated test results within your test management tool so that you can centralize all your testing activities and generate consolidated and rich reports.
The TestRail CLI
To make this process as effortless and seamless as possible, TestRail provides a CLI to upload your test results, as long as your test automation framework can generate JUnit-style reports. The TestRail CLI parses JUnit reports, automatically creates test cases on TestRail, creates test runs, and uploads the results to the respective tests.
The TestRail CLI is a tool developed in Python and available in the Python Package Index (PyPI). To make use of this tool, all you need is to have Python available on your system (which we already configured for the Pytest project). You can install it by using the command below.
$ pip install trcliTo enable using the TestRail CLI on your TestRail instance, you will only have to do some minor configurations. See the TestRail CLI documentation for the required steps and to get acquainted with the features available through the CLI.
Configuring the build step to use the TestRail CLI
Let’s now jump back to our Jenkins job and quickly make the necessary changes to upload your test results to TestRail.
1. Edit the Execute shell step Command, adjusting it to upload the test results using the TestRail CLI.

Shell script breakdown
Below is a copy of the script used above and a brief explanation of each section.
# Setup virtual environment
python3.10 -m venv ./venv
. ./venv/bin/activate

# Install and run test project
pip install -r requirements.txt
pytest --junitxml "reports/junit-report.xml" "./tests" || pytest_exit_code=$?

# Install TestRail CLI and upload test results
pip install trcli
trcli -y
  -h "https://INSTANCE.testrail.io"
  -u "USER_EMAIL"
  -p "API_TOKEN"
  --project "PROJECT NAME"
  parse_junit
  --title "Automated Test Run"
  --run-description "CI Build: ${BUILD_URL}"
  -f "reports/junit-report.xml"

# Exit with Pytest exit code
exit $pytest_exit_code
# Install and run test project
The first change is on the pytest command. Notice the --junitxml "reports/junit-report.xml" option, which commands Pytest to generate a JUnit style report to be used by the TestRail CLI. You can find more details about this on the documentation relating to Integrating with Pytest. Another detail is the || pytest_exit_code=$? after the pytest command. This tells the shell to proceed even if tests fail, which causes Pytest to return a failure exit code and would otherwise stop the whole job execution without uploading the test results to TestRail. We will later exit the script with the pytest_exit_code to either pass or fail the build according to the test results. There are multiple ways to achieve this behavior and plugins that may help you doing so, this was the simplest way to fulfill the purpose of this example.
# Install TestRail CLI and upload test results
If the test execution finished successfully (whether there were failing tests or not), you should now have a JUnit style report to be able to upload your results to TestRail. To do so, you just install the TestRail CLI using pip and then execute it with your TestRail instance details. You’ll need to replace the placeholders for the -h, -u, -p and --project. Another small but useful detail on the trcli call in this script is the option --run-description "CI Build: ${BUILD_URL}". This will add the current Jenkins build url to your TestRail test run, so you can easily navigate back to it. As a final recommendation, do not use your password or API token directly on the script, make use of the Jenkins credentials manager.
# Exit with Pytest exit code
As mentioned before, we simply exit the script with the original Pytest exit code, which will inform Jenkins of the result of the actual automated tests execution.
Running the job
1. Now that we’ve completed changing the build step, we can run the job again. To do so, you simply hit the Build Now action on the left side panel.

2. After the job is complete, you should be able to see that the script was executed as expected by peeking at the logs on the Console Output page of the build. If the test execution completed without any bumps and the TestRail CLI was properly configured, you should be able to see that it submitted the test results to your TestRail instance on the build logs.

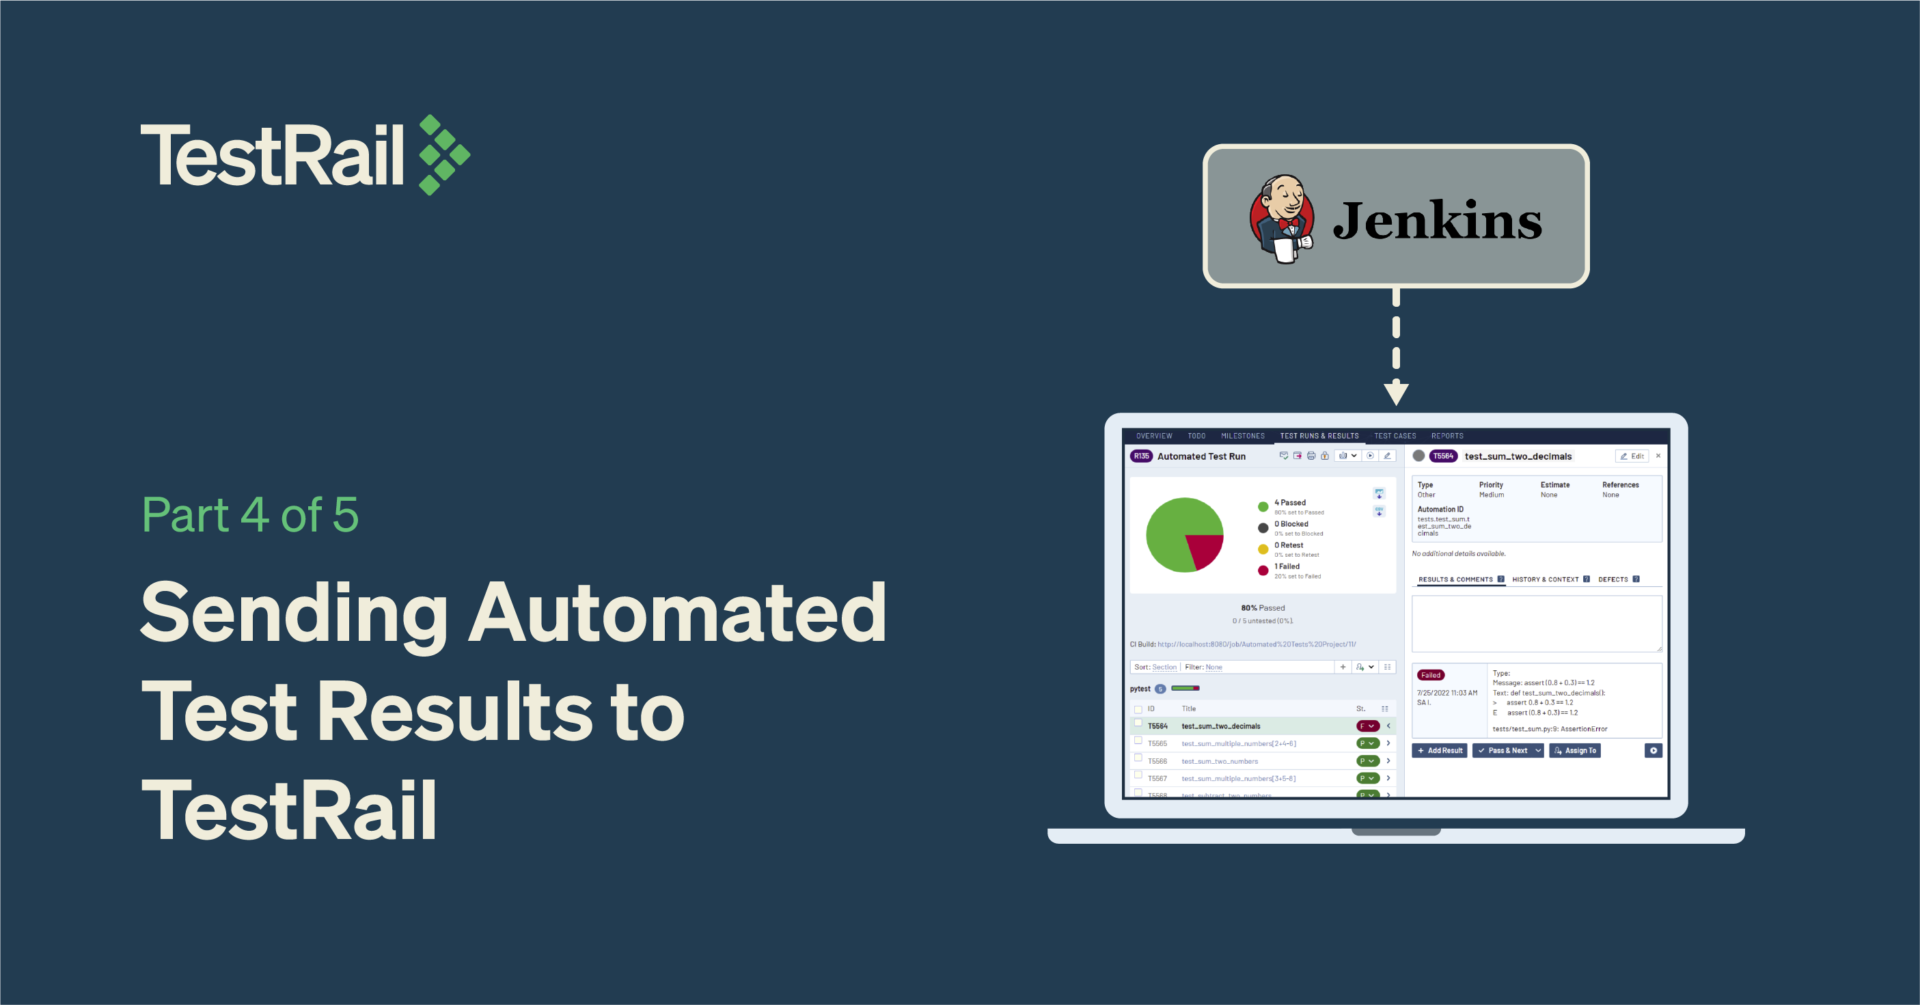
3. Finally, if you open your TestRail instance and go to the Test Runs & Results page, you should be able to find the newly created execution named Automated Test Run and see your test results, along with the link to your Jenkins job build that generated this test run. Notice the run description link so you can navigate to Jenkins and further debug your test results.

Final result
After implementing all the instructions in this article, you will have completed steps 3, 4, and 5 in the diagram below.

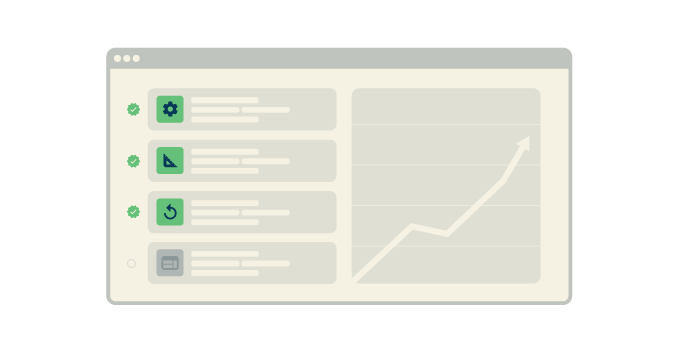
Now that you have centralized your test results in TestRail, not only can you check the results of your automated test runs, along with the error messages for failed tests, but you can also aggregate both your manual and automated testing efforts on reports that show you the full test coverage surrounding your app and even track test automation progress. You can also report a bug directly from the automated test result to an issue tracker of your preference as you would do for your manual test results.
At this point, you still have to go into Jenkins to trigger your automated tests job before you have your test results on TestRail. But what if you could trigger the job directly from TestRail? To learn how to achieve this, please see the article referring to the 4th and last step in this series of blog posts – Triggering the Jenkins build from TestRail using UI Scripts.